The Upload Audience feature should only be used for audiences that do not need to be updated regularly, or are used in On Activate or Date & Time campaigns. If your CRM supports automatic data transfer to the sFTP, audience files should be updated through that process. If you are manually updating the audience files for Rolling campaigns, then you should utilize this upload feature.
How To Upload An Audience File
⚠️ Wait until your Contact File is successfully uploaded in the platform before uploading your Audience File. Contacts needs to exist in the platform before they are segmented out as an audience.


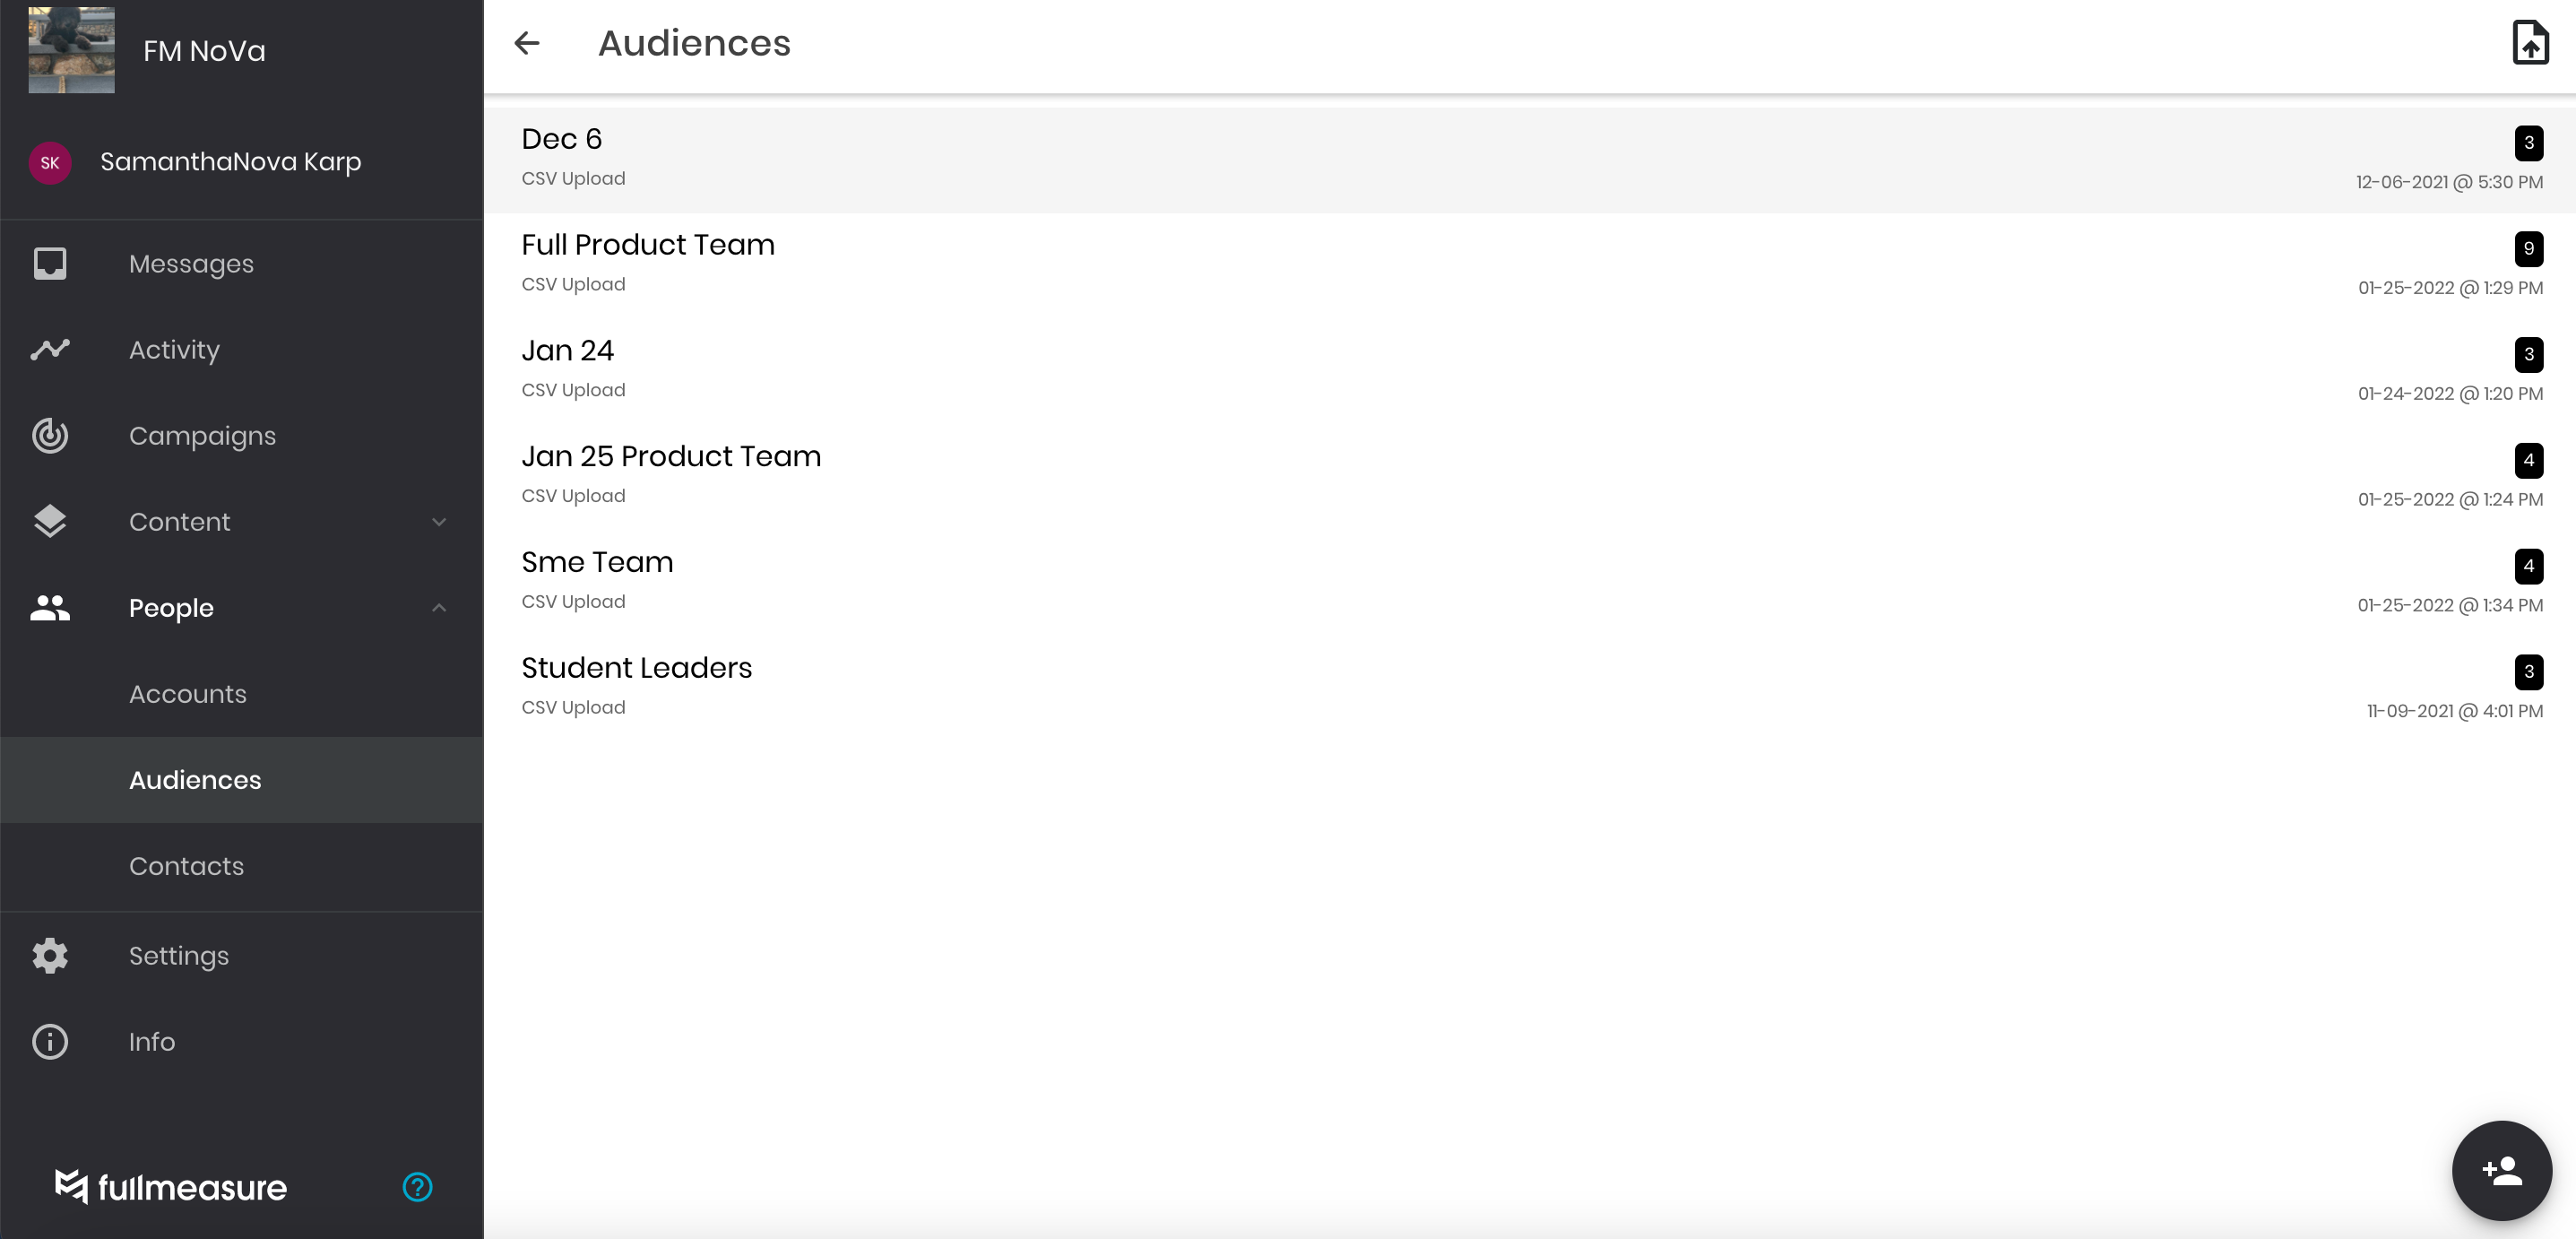

Step 4: Click the Upload File icon in the top-right corner to check the status of your audience file upload.

That's it! Once you see your file in the "Completed Section", you can move into the Campaign Creation process.
You can also message students directly from your Audience File. Select an uploaded file, and all students included will appear. Select the three dots next to their name, then click "Message" to send a direct message.